Installation
- Download the latest version of the "Eclipse IDE for Java EE Developers" package for your platform from the Eclipse's downloads section.
- Download the WireCloud IDE plugin from the FIWARE PPP Public Files area.
-
Install the WireCloud IDE plugin:
-
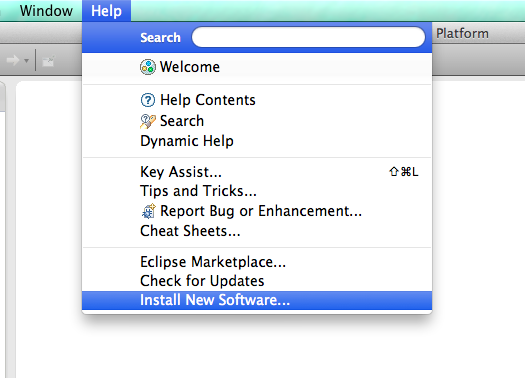
Help -> Install New Software...
-
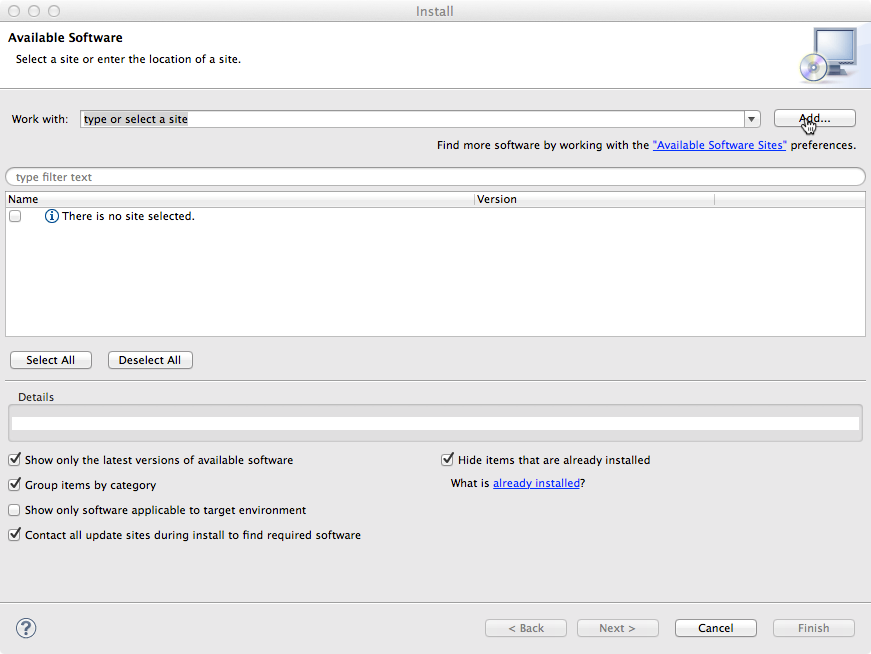
Add a new repository using the Add button
-
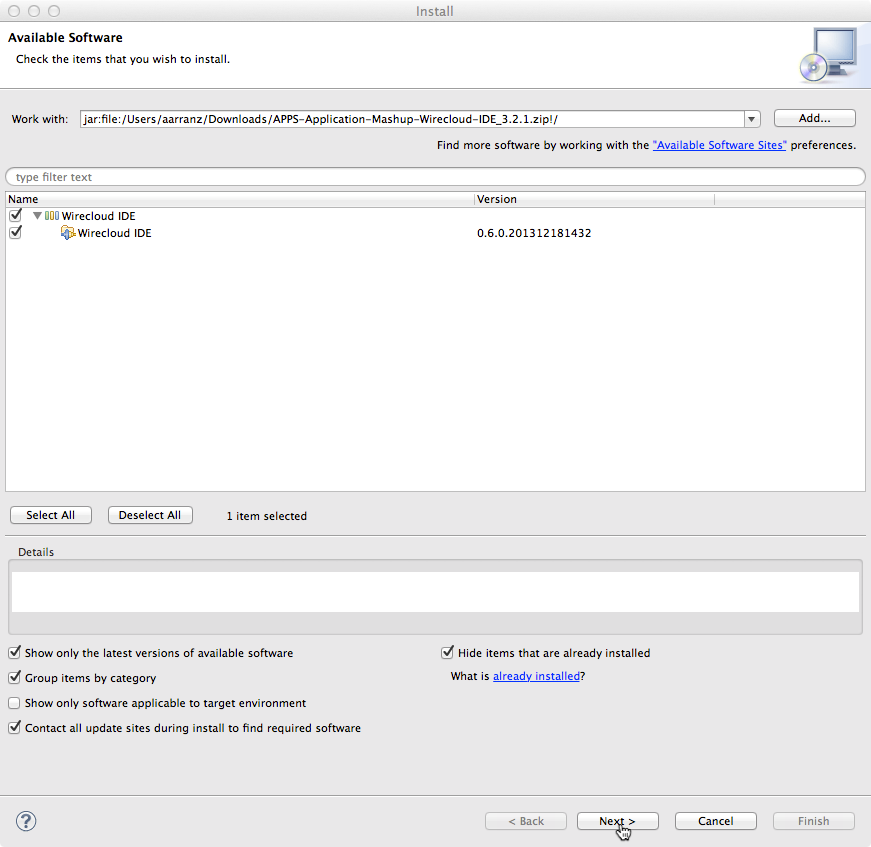
Click Archive and select the WireCloud IDE plugin file downloaded in previous steps

-
Select the WireCloud IDE entry
-
Click Next and complete the wizard.
-
Adding WireCloud servers
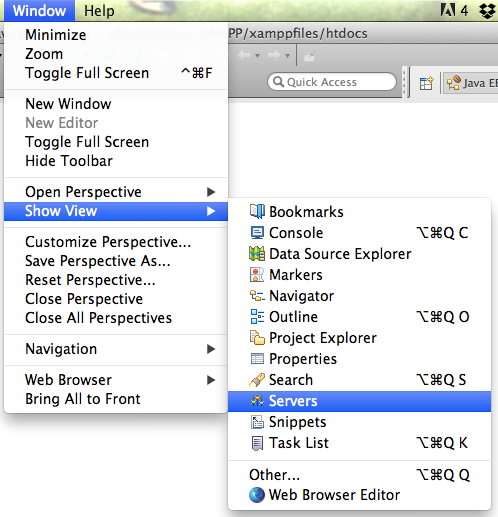
WireCloud IDE support deploying Widget/Operator projects into WireCloud servers. You can manage WireCloud servers from the "Server" view (usually located in the lower half of Eclipse's development screen). If you don't have such a view, you can add it via Window -> Show View -> Servers:
-
Right click inside the "Server" tab to open the New Server dialogue:

-
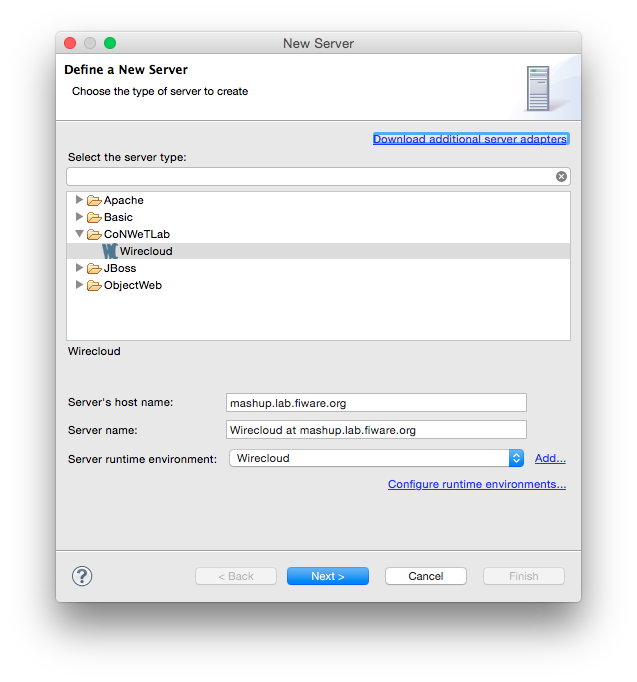
In the next step, select WireCloud as the type of server to define (you will find it under the CoNWeTLab category), update the host name of the server where WireCloud is located and give it a name. After filling this info, click Next:
-
Review the protocol and port configuration. You will also need to provide a client id and a client secret obtained from the IdM (see how to create new OAuth2 applications on the KeyRock's User and Programmers Guide). You will need to use
[WIRECLOUD_SERVER_URL]/oauth2/default_redirect_urias the callback URL field. Once finished click Next: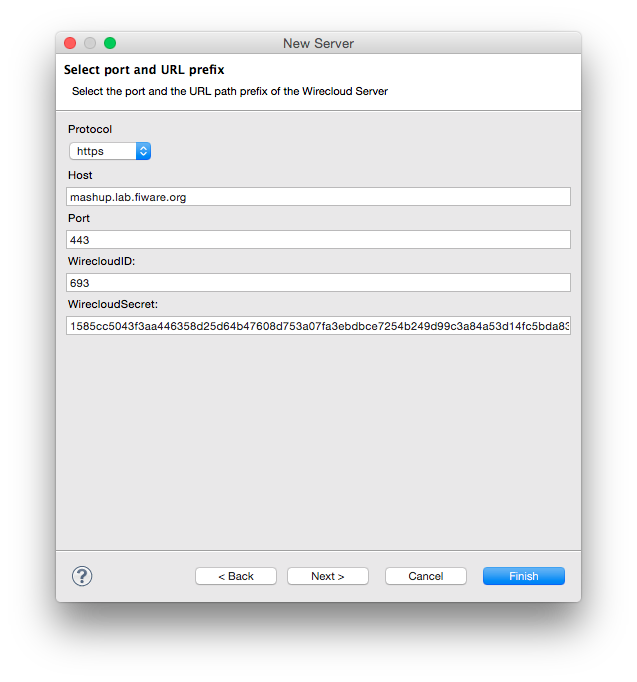
-
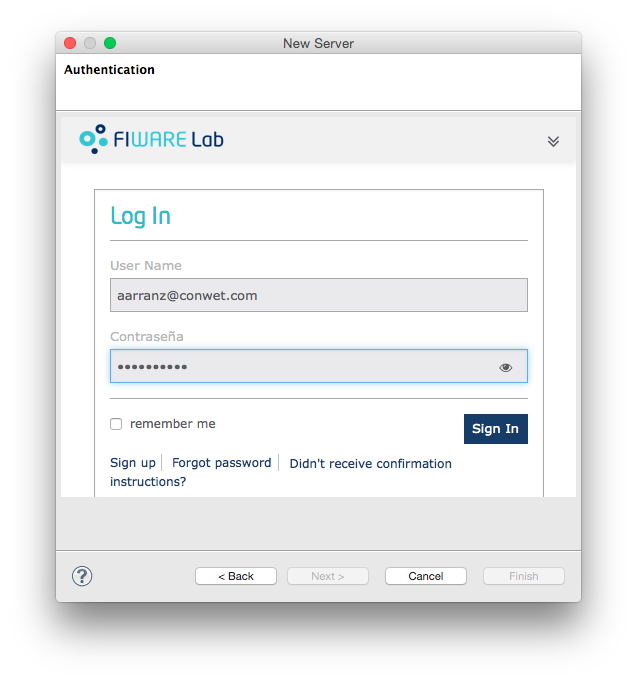
The next step is authorising WireCloud IDE to install and uninstall resources on the server. This will require you to log in to the WireCloud server.
-
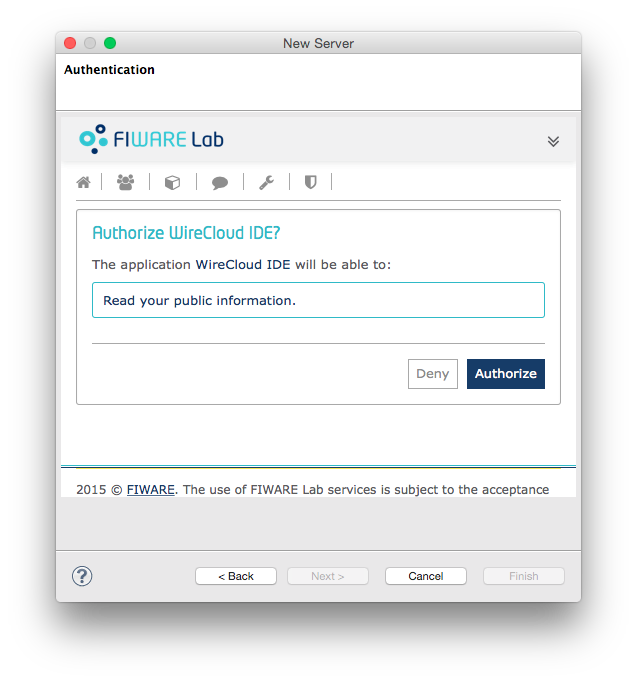
And to confirm the authorisation:
-
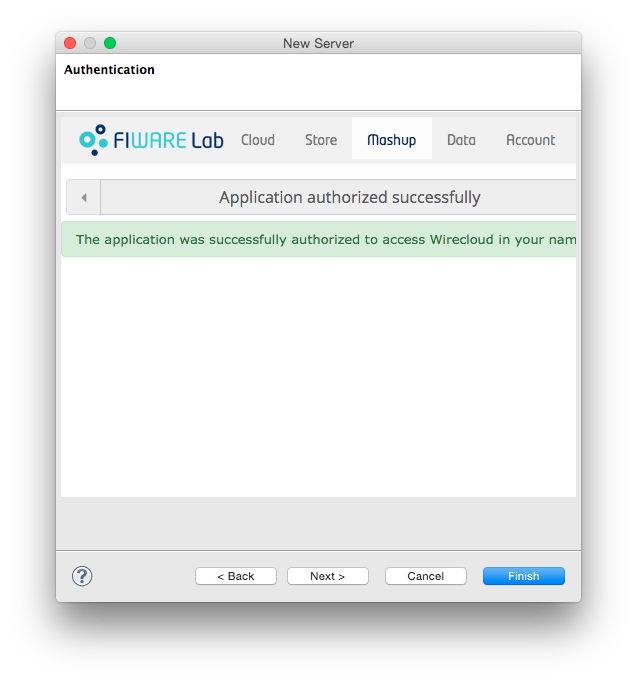
After which, a confirmation message should be displayed:
-
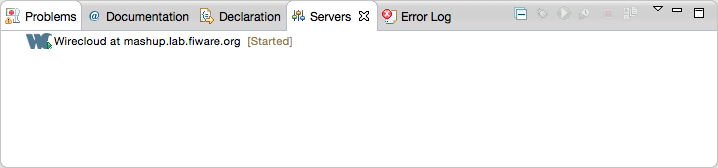
At this step you can choose between clicking Next and selecting a list of projects to upload initially to the server, or clicking Finish as all the required info has been provided. In any case, after finishing the wizard, a new WireCloud server should appear in the "Server" tab:
How to create Widget/Operator projects from scratch
-
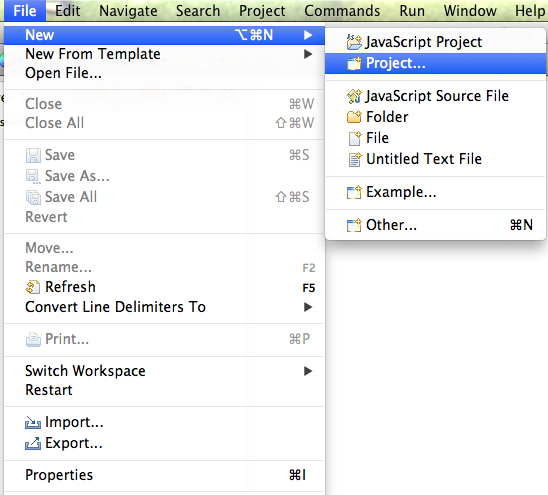
Open the new project wizard page:
-
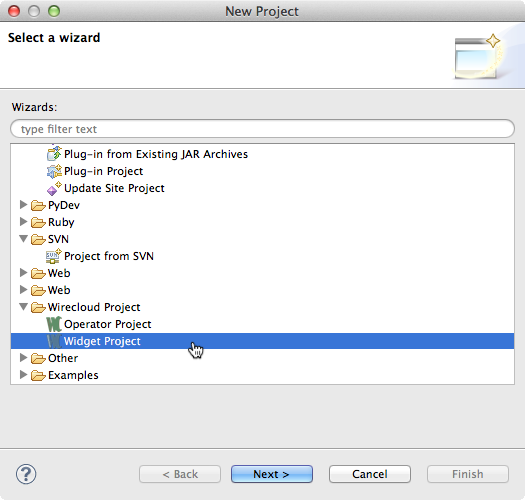
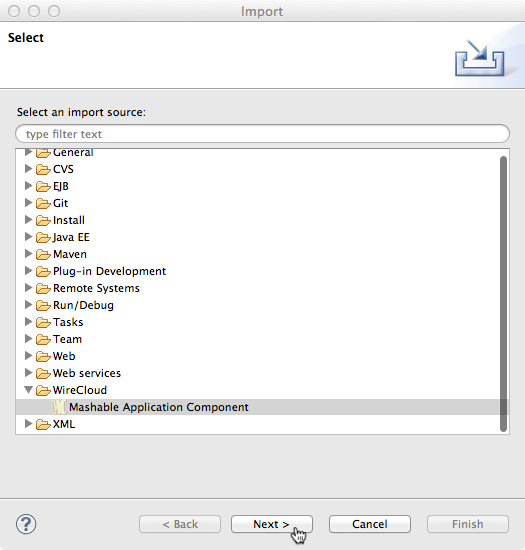
And select the Widget/Operator project depending on the type of resource you want to create (you will find them on the WireCloud Project category):
-
Give a name to the project and click Finish:

Once created the project, you will obtain the following features in addition to the ones provided directly by Eclipse:
- JavaScript API autocompletion.
- Assistance for editing Widget/Operator descriptions.
- Support for installing and uninstalling them from the configure WireCloud servers.
Tutorial
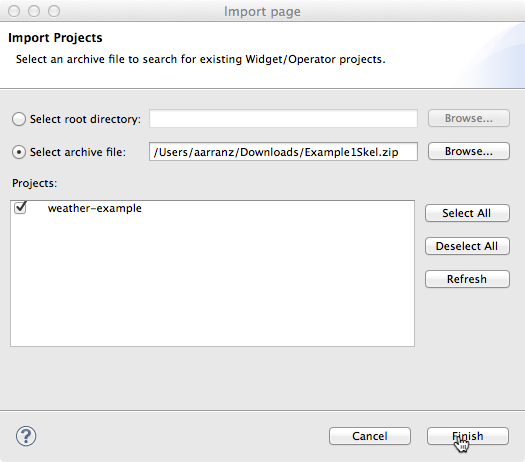
- First of all, download this initial code from this link. This code contains a widget example skeleton including basic html/style code.
-
Import the downloaded file into a Widget project:
-
Follow the 3.1.3. Making requests and wiring tutorial available on the WireCloud's course @ FIWARE Academy.
-
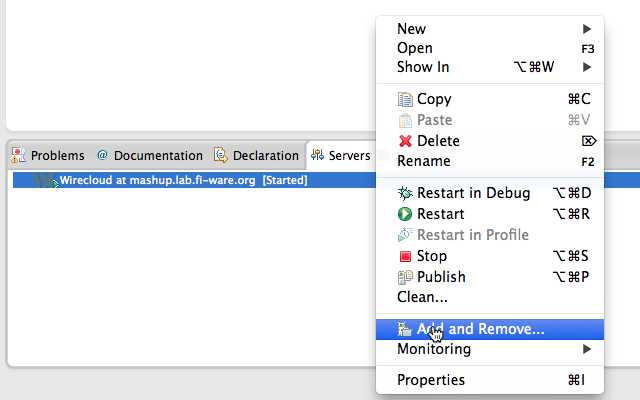
Add the widget to the WireCloud server using the Servers view (see the Adding WireCloud servers sections for more info). The first step is opening the "Add and remove ..." view:
-
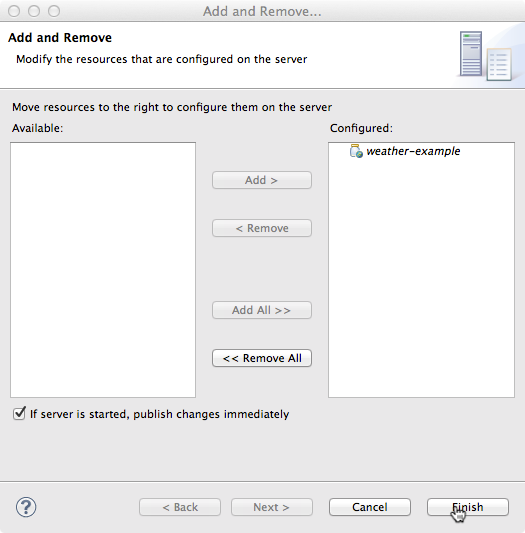
Once opened the "Add and Remove" view, you will need to move the project from the available section to the configured one:
-
Click Finish and the widget will be uploaded to the selected server where you will be able to test your widget following the steps documented on the tutorial.